

09-30-2026, 05:28 PM
(This post was last modified: 09-30-2026, 05:32 PM by barrage bro.)
BarrageRSPS Starter Guide
Choose your account. Build your perks. Start your adventure.
Choose your account. Build your perks. Start your adventure.
Welcome to BarrageRSPS! This guide takes you through your first account choices, useful starter items, daily rewards and a practical route towards stronger equipment. You do not need to rush into bosses: a few early decisions will make the rest of your journey much smoother.
Quick start
- Choose an account type that suits how you want to play.
- Select a difficulty based on your preferred training speed.
- Check your starter inventory and newcomer tasks.
- Visit the Perk Master and begin a manageable task.
- Vote, claim your rewards and keep your daily streak going.
- Improve your equipment gradually, then explore bosses and collection logs.
1. Decide how you want to play
Account type determines how you obtain and share resources. Difficulty is a separate choice that controls the pace of progression.
Regular account
Choose a regular account if you want access to trading and the player economy. It offers the most flexibility when buying supplies, upgrading gear and playing with friends.
Standard Ironman
A self-sufficient account: obtain your own equipment and supplies without trading with other players. This is a good choice if you enjoy earning each upgrade yourself.

Ultimate Ironman
Adds the challenge of playing without normal banking. Inventory planning becomes part of almost every activity, so this mode is best suited to players who already understand Ironman progression.

Hardcore Ironman
Follows Ironman restrictions with an additional survival challenge. An unsafe death can remove your Hardcore status and leave you as a regular Ironman. Before attempting unfamiliar content, check its death rules with staff.

Group Ironman
Progress as a team of up to five players. Share resources within your group and divide responsibilities such as gathering supplies, skilling and preparing for PvM.

Hardcore Group Ironman
Combines group progression with a shared survival challenge. The account screen shows five group lives; coordinate carefully and confirm the death rules before entering risky activities.
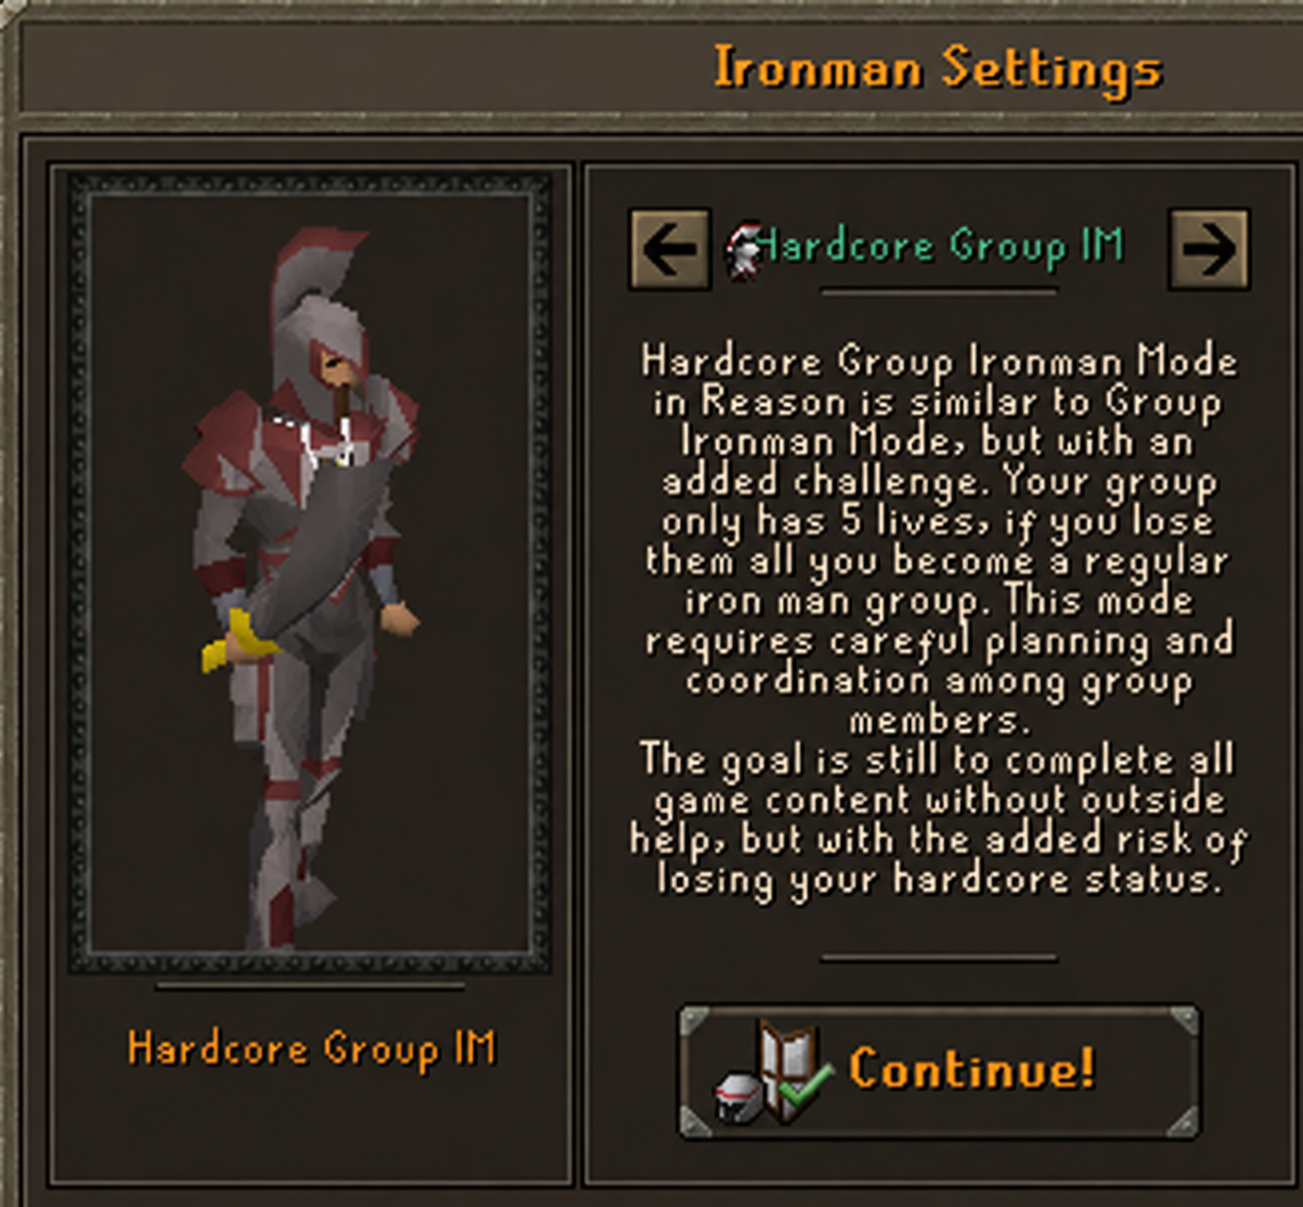
Choosing your mode: Regular accounts offer freedom, Ironman rewards independence, and Group Ironman suits a coordinated team. Hardcore and Ultimate modes add challenges that are easier to manage with prior experience.
2. Choose your training pace
A higher experience multiplier means faster levelling. Slower modes trade that convenience for stronger progression incentives. Read the selection screen before confirming your choice.
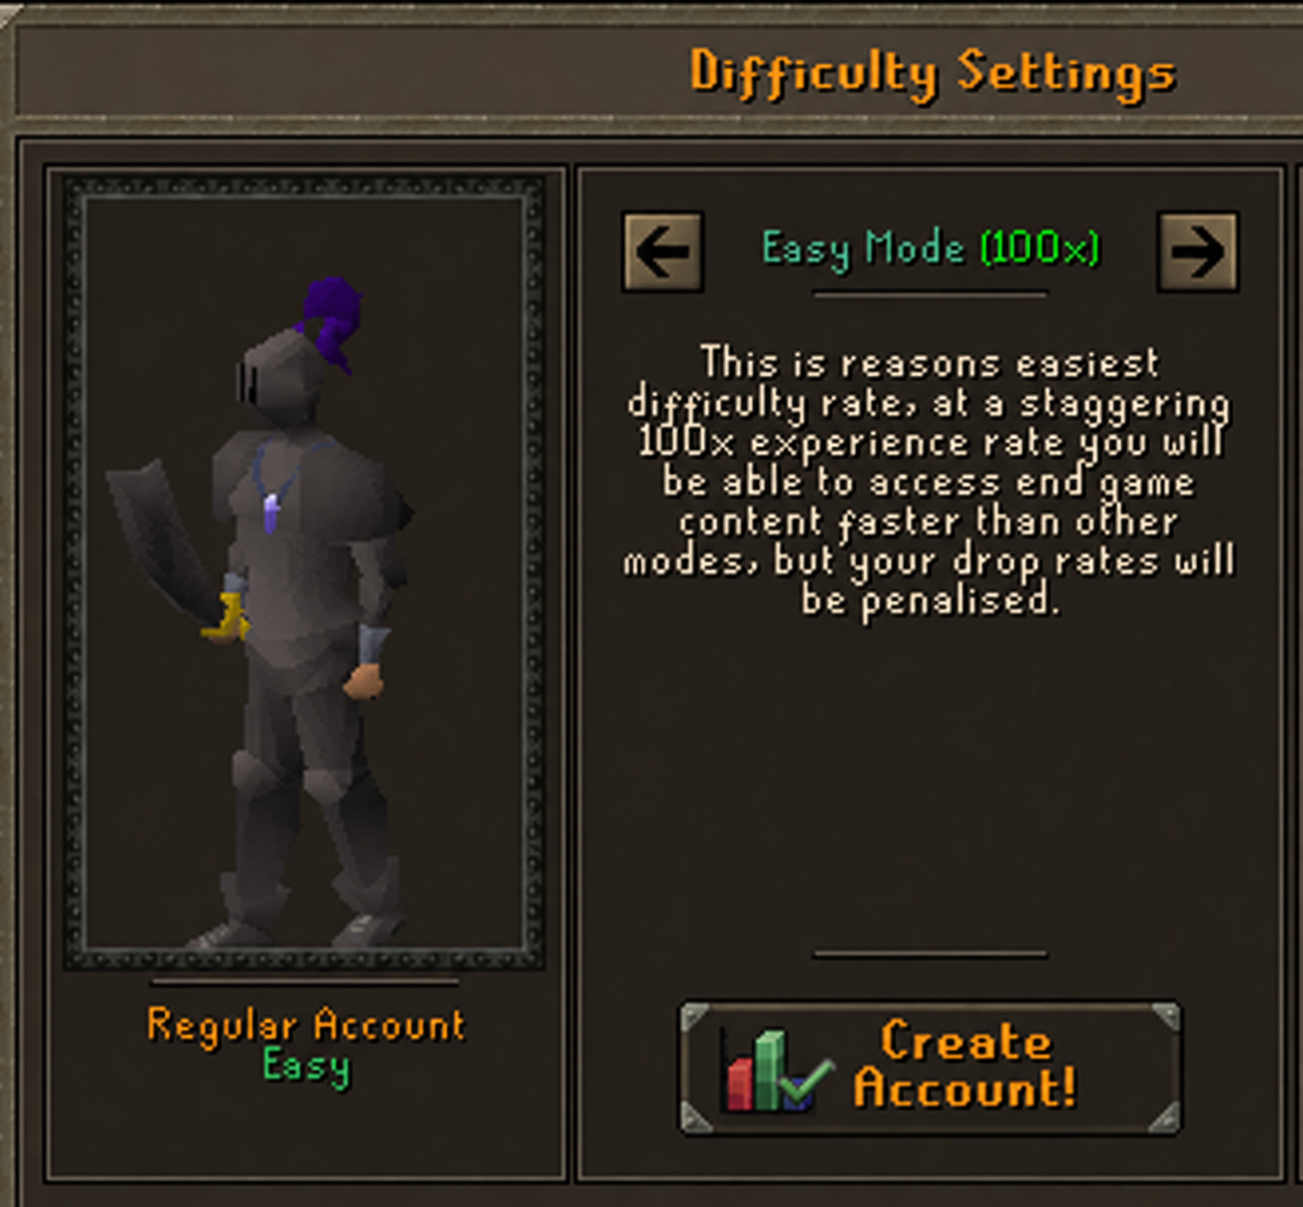
Easy — 100x experience
The fastest route through early training. A practical option if your priority is reaching activities quickly and learning the server.
Intermediate — 25x experience
A middle ground between quick training and a longer progression journey. Its account screen describes improved drop rates and additional points compared with Easy.

Hard — 10x experience
Slower training with further incentives. The selection screen also lists access to the training amulet.

Extreme — 3x experience
The slowest training option, aimed at players who enjoy a longer grind. Its selection screen lists stronger drop-rate incentives and access to the training amulet, sword, staff and bow.

Before changing difficulty: Ask about the current reset rules and any limit on changes. A mode change can affect your levels, so plan before investing time in training.
3. Make use of your starter inventory
Before leaving home, inspect each starter item rather than banking everything immediately. Your initial supplies and utility items are designed to help you establish a routine.

- Perk claim ticket: Check the Perk Shop for the free perk upgrade available through your ticket. Pick a perk that supports the activities you plan to do first.
- Perk crystal: Use it to keep track of your current task and active perks.
- Training amulet: Check its available equipment upgrades as your combat levels increase.
- Achievement book: Browse achievable goals and their rewards to give your early training a purpose.
- Newcomer task book: Complete the introductory objectives alongside your normal progression. Review the final reward before setting the book aside.
- Training weapons: If your mode provides them, use them for early combat and watch their remaining charges.
A sensible first session: Organise your supplies, read the newcomer objectives, train the levels you need for basic equipment, then start a task you can complete comfortably.
4. Build a daily reward routine
Voting is a useful habit to establish early. Use ::vote to open the voting page, complete the available votes, then return to the game and use ::voted to claim eligible rewards.
Visit the Vote Handler
Check the Vote Handler's shop to see what your points can purchase. Compare useful supplies and progression rewards before spending your first points.

Keep your streak active
Open ::votestreak to review your progress and available daily rewards. Claim eligible rewards and check the requirements for your next milestone.
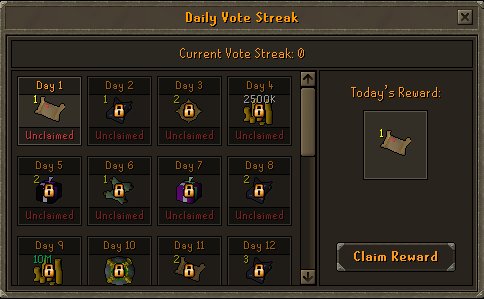
Tip: Make voting and checking your task books part of your login routine. Small, consistent rewards are easier to maintain than trying to catch up later.
5. Use perks to support your goals
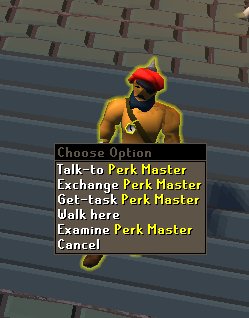
The Perk Master provides access to perk tasks and the exchange/shop interface. Start with tasks that match your current gear and skill levels, then upgrade the perks you use most often.
Combat-focused start
If you plan to train ranged and move into PvM, Skilled Ranger is a useful first option to inspect for your starter ticket. Afterwards, consider sustain, attack speed and Slayer-related perks alongside damage upgrades. Read each tooltip before spending points.
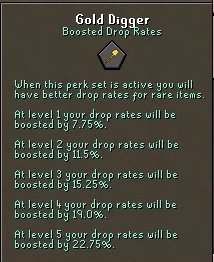
Gold Digger — drops
The illustrated perk boosts drop rates while active. Its tooltip shows an increase from 7.75% at level 1 to 22.75% at level 5. This makes it a useful long-term goal once you have a reliable combat setup.
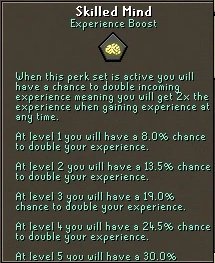
Skilled Mind — experience
This perk gives a chance for an experience action to award double experience. The illustrated tooltip shows the chance increasing from 8% at level 1 to 30% at level 5. It is worth inspecting if skilling is your main focus.
Working towards perk sets
Read the set requirements in the perk interface. Plan upgrades together so you can meet the required perk levels rather than spreading points across unrelated choices. Use any flexible slot for a perk that complements your current activity.
6. Choose a progression route
Route A: combat and Slayer
Start with easy PvM tasks and monsters you can kill efficiently. Bring food, keep your equipment appropriate for your levels and avoid spending your entire budget on one upgrade. Increase task difficulty when your damage and survivability make the next tier practical.
Slayer is a useful framework for early combat because it gives you a clear target. Pair your combat training with newcomer objectives, achievements and perk tasks where possible.
Route B: skilling and perk tasks
Choose a repeatable activity with supplies you can obtain consistently. Regular accounts can use trading to prepare; Ironmen should first establish their own gathering route.
When selecting a task, check three things:
- Do you meet the level requirement?
- Can you replenish the required materials?
- Is the reward worth the time compared with a simpler task?
Examples to investigate as your levels grow
- Smithing: repeatable equipment production, provided you have enough bars.
- Runecrafting: higher-level rune tasks once you have the required level, essence and useful equipment.
- Mining: ore tasks that fit the rocks you can access.
- Fishing: a steady supply of food while working towards eligible tasks.
If you use an experience-lock feature, make sure it suits your plan before enabling it. Avoid commands that empty your inventory unless you deliberately intend to discard its contents.
7. Upgrade with a plan
New equipment is most useful when it improves the activity you are already doing. First aim for a dependable weapon, suitable armour and enough supplies to complete your tasks. Larger upgrades can follow once you have a steady income or resource route.
Upgrade Station
Find the station at home and inspect its interface before committing items. Check the required materials, success chance and what happens to your items if an attempt fails. Never assume an upgrade is guaranteed.

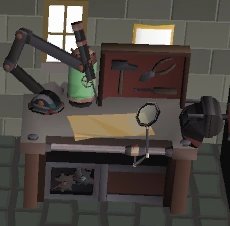
Item Workbench
Review the available recipes and requirements. Gather the complete set of materials before starting and compare the result with other upgrades available to your account.
8. Set your next milestone
Once basic training and tasks feel comfortable, choose a goal that gives your account direction: a particular equipment upgrade, a collection log, a skilling milestone or your first boss.
Collection logs
Use ::clog to inspect available logs and their listed completion rewards. Pick content you can complete consistently rather than chasing the most demanding log immediately.
Combat achievements
Check the combat achievement interface and begin with objectives that fit your current equipment. Read the conditions carefully before an attempt so a successful kill also counts towards your goal.
Global bosses
Watch announcements for community encounters. Before joining, check how to reach the boss, what equipment and supplies to bring, and how deaths and participation rewards work.

Hardcore reminder: Confirm whether an encounter is safe for your status before participating. A group activity is not automatically a safe-death activity.
Your first-day checklist
- Account type and difficulty selected.
- Starter items inspected and supplies organised.
- Newcomer tasks and achievements reviewed.
- Starter perk reward checked.
- First manageable perk or combat task completed.
- Votes and eligible streak rewards claimed.
- One realistic equipment or account milestone chosen.
Enjoy the journey, and welcome to BarrageRSPS!
If you need help, ask the community or post in the forum's Support section.
If you need help, ask the community or post in the forum's Support section.